I've had the idea for this project for over a year, I bought the wood for it last year and it's been sitting in my garage every since. When I got my 4th of July decorations out they were really sparse so I ran to Home Depot, grabbed some paint and got busy.

I didn't want to make a small little tiny flag, so I went big, I mean huge, a little over 7 feet long, huge! I wanted the flag to be the right proportions so I used this website as a guide. I wanted to use tongue and groove boards, similar to what is used for wood flooring, and make each board one stripe. Each board was approximately 3.5" wide, so in order to stick to the correct proportions and use one board as a single stripe, the length needed to be approximately 86.5" long; a little over 7 feet! I cut my boards, taped out the star area and painted 7 boards red and 6 boards white. I wanted to make it look old, like it had been hanging on the side of a barn for years so did some distressing.

Then I screwed and glued the boards together. When I distressed I wanted the wood that would show through to be darker than the natural wood so I stained it, let that dry then painted it blue and distressed.

Once the blue was dry I taped out the star pattern with painters tape, painted them white and distressed one last time. I love everything vintage so I decided to go with the stars like the Betsy Ross Flag, but you could easily make one with 50 stars.

I knew right where I was going to hang it, and it looks great hanging in our family room. This wall is really big and the pictures don't really show the size very well. But trust me, it's big!

I love how it turned out, I will have it up every year! If I would have thought ahead and used outdoor instead of indoor paint, I could have hung it out on the back patio and had it there year round!

One other quick and super easy project is this
denim and jute webbing pillow!

I cut my strips of webbing and zigzag stitched them together on my machine. I hand stitched the stars on a piece of old denim and then sewed it onto the webbing using an overlock stitch on my machine. I cut two pieces of ticking folding them so they would over lap like an envelope and then sewed them to the webbing on my machine using an overlock stitch.
Super simple!

I couldn't leave the table below the flag without some
Independence Day decorations of it's own.

These distressed red, white & blue, stars & stripes boxes are perfect accessories for 4th of July!

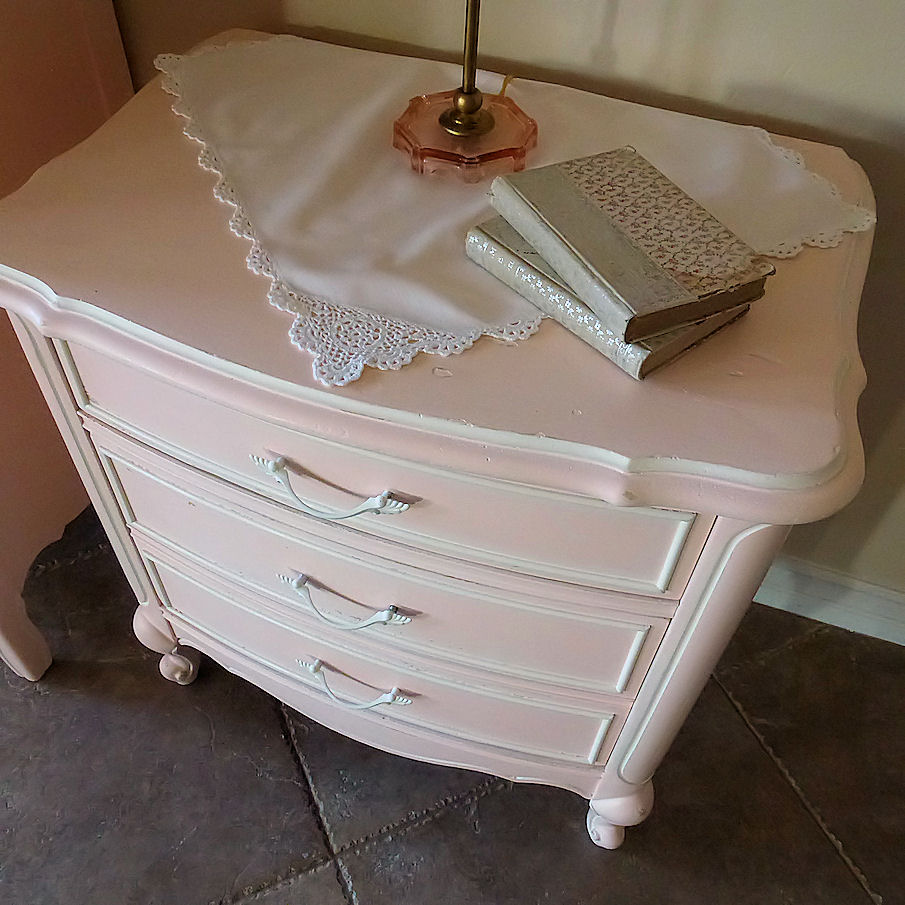
I dug through my vintage book stash and found these 3 particularly appropriate for 4th of July decorating.

I made these flags at the same time I made the pillow, just used left over tacking and denim, hand sewed on one big star and attached a wooden dowel to the back.
These would also be cute on top of cupcakes!?!!?

I scored this piece of luggage at Ross a couple years back, it looks great and doubles as storage for my decorations the rest of the year!

If you decide to make wooden, jute or tacking flags of your own please send me pictures I would love to see your creations!